Craft dough is not food
Salt dough resembles a kitchen mixture but is not meant to be eaten. Its high salt content is particularly dangerous to animals that might consume it. Keep ingredients, scraps and finished decorations out of their reach, and supervise children appropriately. Do not offer this activity to someone likely to put the dough in their mouth.
A common starting mixture uses two volumes of flour, one of fine salt and about one of water, added gradually. Different flours absorb differently, so stop adding water when the dough becomes workable rather than insisting on using it all. Work on a protected surface with materials clearly separated from food during the activity. Raw flour should not be tasted. Wash hands before and after handling, then clean tools and the work surface.
Cut a few even shapes
Mix the dry ingredients, add water little by little and bring the dough together. If it is very sticky, adjust with a little dry mixture; if crumbly, add a very small amount of water. You want dough that holds together and rolls without leaving a thick layer on your fingers.
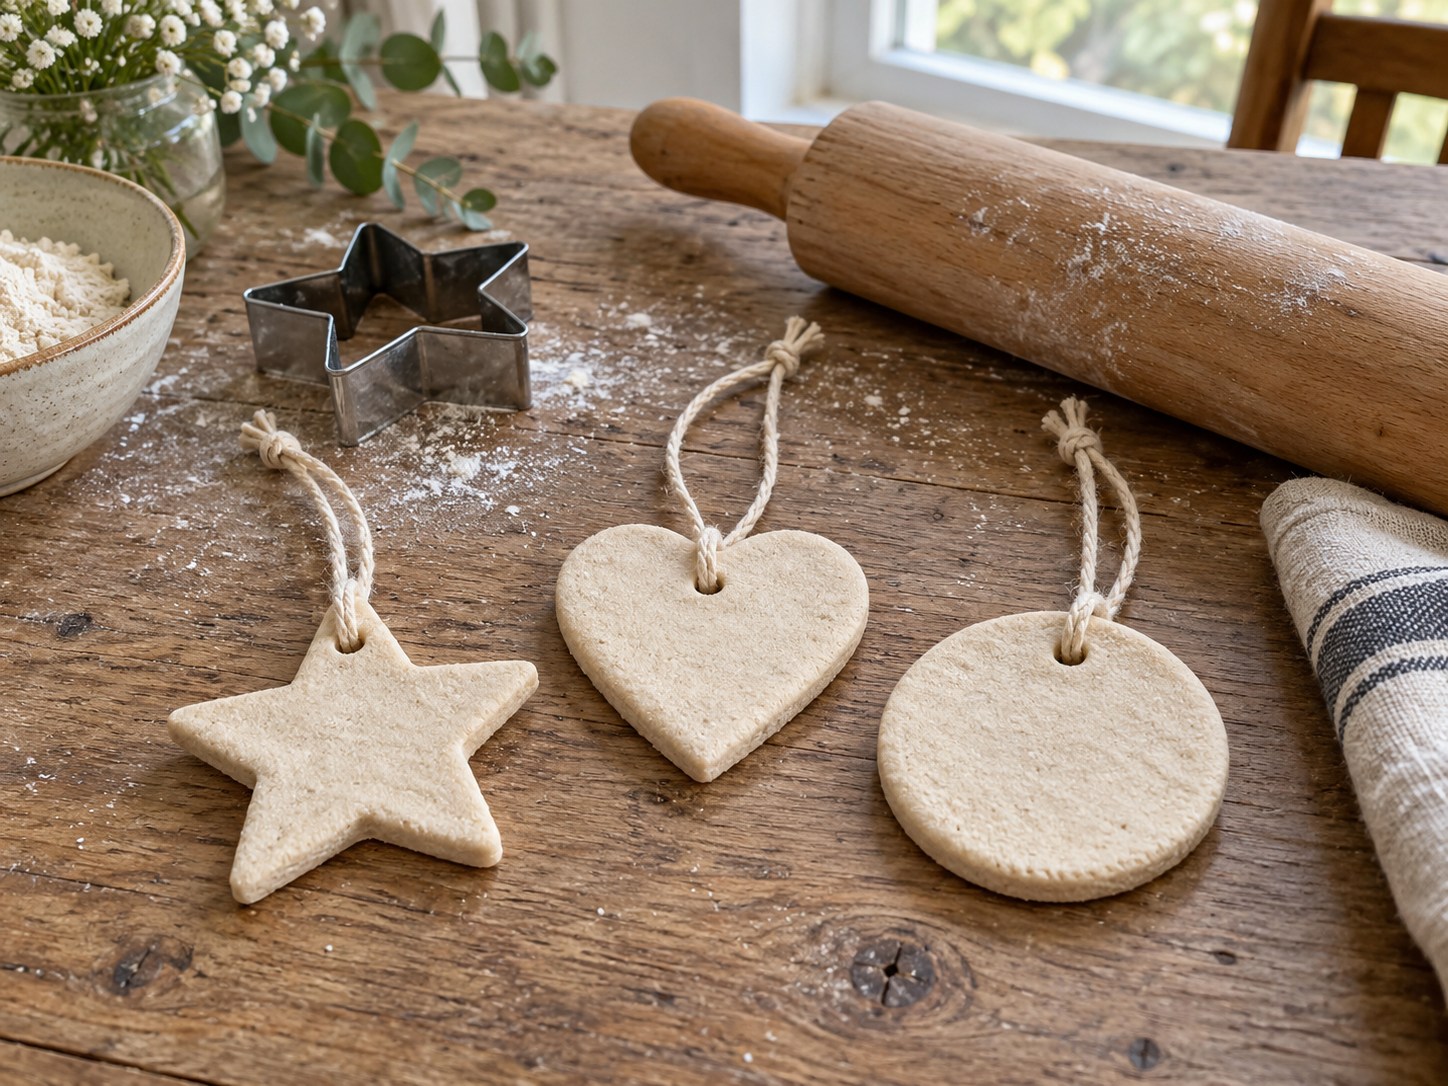
Roll to an even thickness and cut simple shapes. Outlines with narrow points break more easily. Make a hanging hole sufficiently far from the edge before drying, considering the cord you intend to use. Remove scraps and gather them for a few extra shapes without repeatedly handling the dough until it becomes dry.
Make a batch you can supervise
Begin with a few shapes rather than a large production. Prepare a drying location inaccessible to animals and young children before mixing. A filled tray temporarily left on a chair will soon need moving and may be forgotten. Clearly identify the batch as non-edible decoration, especially if it shares a room with cooking or similar-looking preparations. Explain this distinction to everyone who may encounter the pieces rather than relying on their appearance.
Thickness matters more than width when understanding drying differences. Two stars of equal diameter can behave differently if one has a much thicker centre. Use equal-height rolling guides if they help. Avoid stacking pieces to create substantial relief in the first batch: this introduces areas whose drying is harder to compare. Keep the hanging hole clear when shaping so it does not need to be forced open after the material becomes brittle.
Make one small test shape from the same dough at the same thickness. It lets you observe changes in colour, firmness and weight during drying without continually handling fragile decorations. These observations do not establish a universal duration, but they help compare pieces within the batch. If the room is humid, accept that the project needs more patience or choose another activity better suited to the conditions. Do not respond to uncertainty by storing the pieces before they are ready.
Dry it completely
Air-drying depends on thickness and room conditions and may take several days. Put shapes on a suitable support and turn them when they are firm enough to encourage even drying. Never close them in a box while still damp. A hard surface does not prove that the centre is dry.
If choosing an oven method, use a recipe and instructions suited to your appliance with adult supervision; do not infer a universal time from the visible size of the pieces. For this simple project, small thin shapes and patient drying avoid attempts to accelerate a process you have not yet learned to judge. Keep drying pieces clearly labelled and away from edible baking.
Decorate only when the pieces are completely dry, using compatible products suited to the participants. Respect any additional drying times. A finishing coat does not make salt dough edible or resistant to prolonged moisture.
Thread a cord through the hole and hang the decoration on a secure support, away from young children, animals and heat sources. Store it dry and separate from food afterwards. Remove any piece that softens, develops mould or becomes damaged. Remaking a few decorations is more sensible than indefinitely keeping a material whose condition has changed. Save a photograph if you want a lasting record of a child's design without preserving every physical ornament.