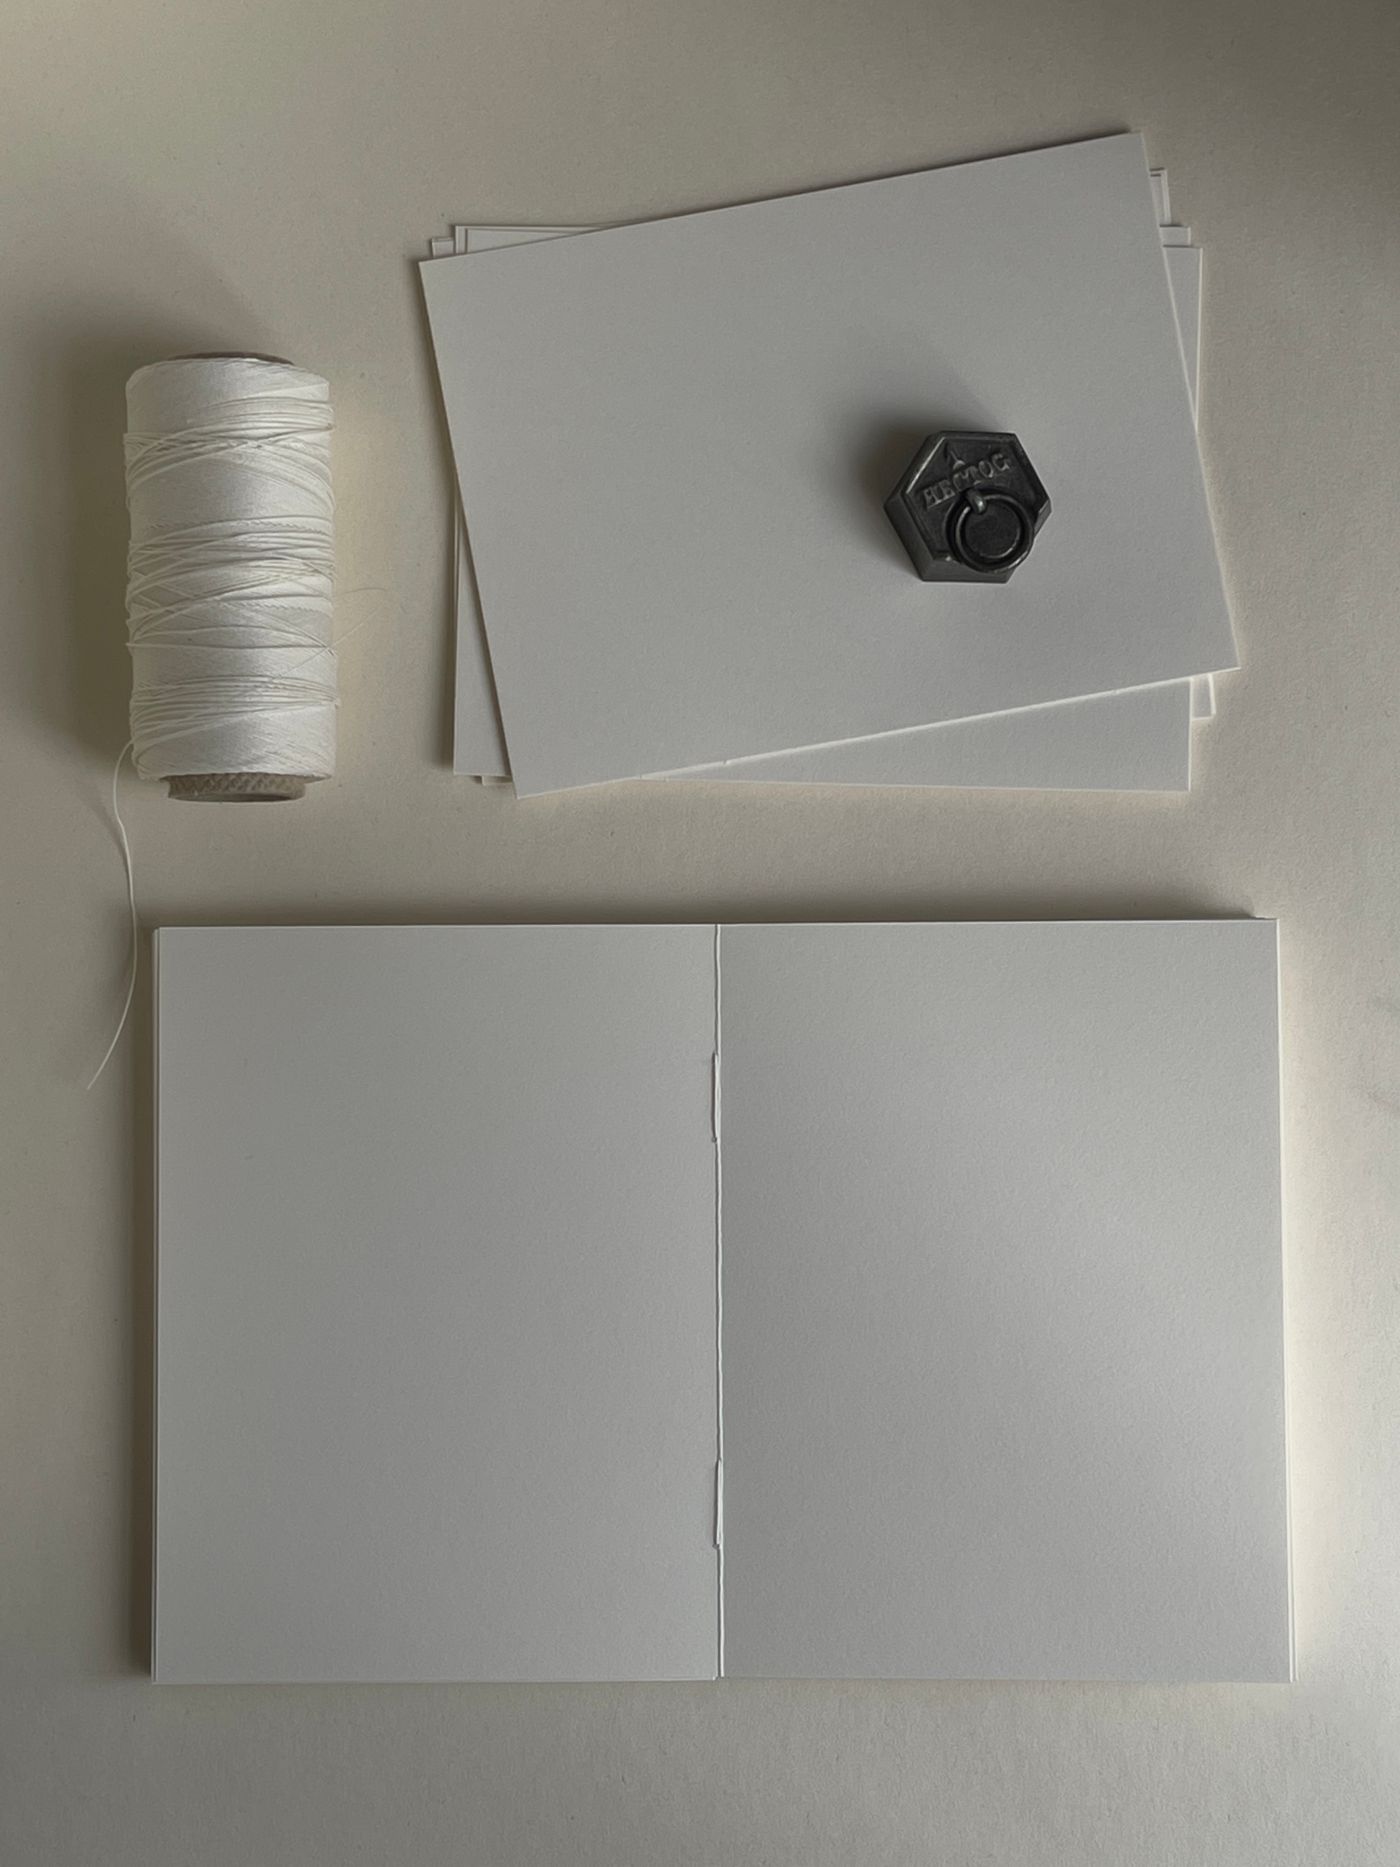
Prepare compatible papers
A first notebook can use a few folded sheets and a slightly firmer cover. There is no need to begin with a thick binding. Choose paper for its purpose: pen notes, pencil drawings or light collage. Writing paper will not necessarily tolerate very wet paint. Test your intended medium before preparing all the pages.
Cut sheets to a matching size with suitable equipment and a safe method. Ready-sized sheets avoid this step. Fold each individually, aligning the corners, and crease with a blunt tool. Then nest them together. Folding an entire stack at once often makes a less even crease. Set aside any badly damaged sheet rather than trying to hide it in the middle.
Allow a slight offset
Inner pages may project a little beyond the outer edge because several sheets are nested together. Fewer sheets reduce this effect. Do not try to cut a thick stack with scissors that struggle to close. For a beginner notebook, a small irregularity is preferable to a difficult cutting operation.
Cut the cover with enough allowance to protect the pages without creating large flaps. Test the opening before fastening it. If the card resists folding, choose something more flexible or use a scoring method appropriate to the material. The notebook should open without its cover pulling against the pages.
Check the thread route on a mock-up
The centre hole is both the starting and finishing point. For a common route, begin inside at the centre and go outside, return inside through one end hole, travel to the other end hole and go outside, then return inside through the centre. Both thread ends finish inside. Place them on opposite sides of the long central strand before tying around it. Work through this sequence slowly on three trial sheets before using your final papers.
Choose enough thread to cover that route and tie the knot without pulling hard on the last end. Excess thread tangles, but too little forces you to restart. A mock-up establishes a useful length for your format. Check that the needle does not accidentally pierce the thread already in place when you return through the centre; that can prevent tension adjustment and create an unintended knot within the fold.
If sheets shift during piercing, stop and realign them before making more holes. Additional closely spaced holes weaken the crease. For a first notebook, replacing a damaged sheet is often simpler than reinforcing several tears. Once you understand the route, keep the open mock-up beside the final notebook. It provides a physical reference without requiring you to memorise the whole sequence at once. Compare the finished binding with the trial before trimming any excess thread.
Keep the binding simple
Three holes can be enough for a simple stitched binding. Mark one at the centre of the fold and two towards the ends, leaving margins that protect the paper. Pierce with a suitable tool on a protected work surface, never in your hand. This step and the needle require appropriate supervision and are not suitable for an unattended child.
Using compatible thread and a needle that passes easily, enter at the centre, go to an outer hole, travel to the other outer hole and return to the centre in a route that holds the sheets. Try the sequence on scraps first so the movement is clear. Tighten only enough to gather the section without tearing the holes. Knot the ends around the central strand and trim the excess with a little allowance remaining.
Turn pages gently and check that nothing comes loose. Give the notebook a purpose on its cover: walking observations, meal ideas or drawing trials. A specific destination helps it become useful instead of remaining indefinitely empty.
Keep the next version modest in page count and change one feature, perhaps the paper or format. You can then see what genuinely improves use. A handmade notebook does not need to resemble an industrial product; its pages mainly need to stay attached and turn comfortably. Store the paper dimensions with your supplies if you want to repeat a successful size.