Buy fewer colours and look at them closely
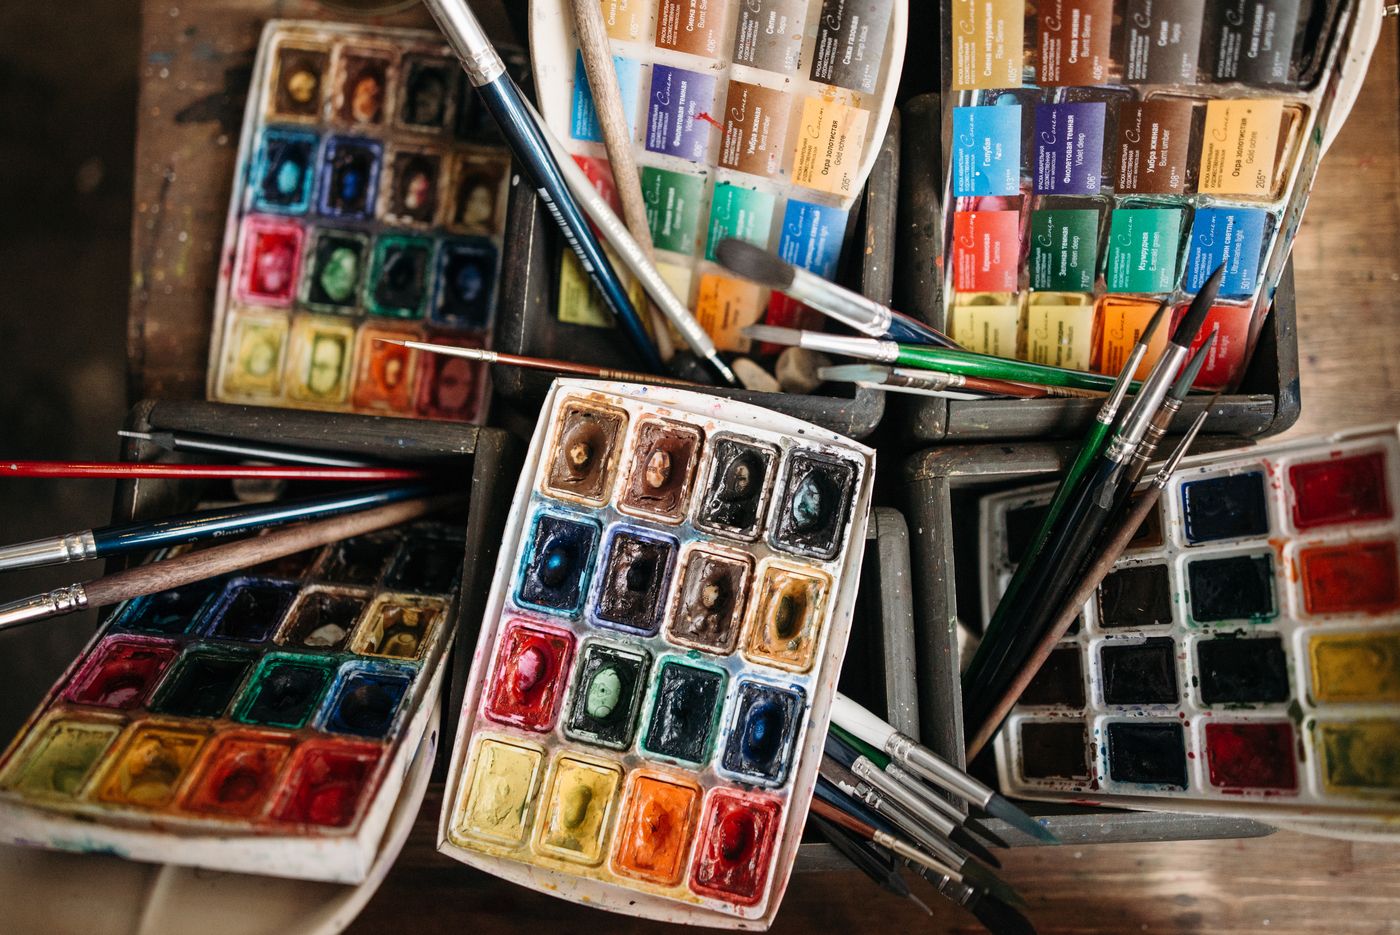
You do not need an enormous paint box to begin. A small selection of yellow, red and blue, perhaps accompanied by an earth brown, already offers plenty of mixing possibilities. Commercial names vary, so compare the visible shades and the manufacturer's descriptions. Two different blues will not produce the same green when mixed with one yellow. The aim is not to discover a universal combination but to understand what your own colours can do.
If you already own a paint box, use it before adding anything. Take out only a few pans or limit yourself to four wells. This makes your experiments easier to understand and stops you confusing an unfamiliar mix with a shortage of materials. Keep packaging that carries usage instructions, particularly if children will share the supplies; choose age-appropriate materials in that case.
Make a reference sheet
Gather watercolour paper, a round brush, a pale mixing palette, two water jars and a cloth. Keep one jar for rinsing and the other for relatively clean water. Label them so nobody confuses them with drinking glasses. Arrange everything on a washable covering, far enough from the table edge that your moving arm will not knock a jar over.
Draw a small pencil box for each colour. Paint a fairly strong stroke inside it, then add water to the brush and extend the stroke into a paler area. Let it dry before judging the result. Write the colour name beneath the box. This sheet will show you the difference between concentrated paint and a diluted wash without making you repeat the experiment during every drawing.
Next, make three mixes: yellow with blue, red with yellow, and red with blue. Start each one with plenty of one colour and add a very small amount of the other. Clean the brush between taking up different paints so the pans stay clean. Describe the proportions in ordinary words, such as 'mostly yellow'. Measuring tiny quantities in millilitres would add little to this first exercise.
Understand an unexpected mixture
If your red and blue produce a brownish violet, look at their individual undertones rather than assuming all primary colours behave identically. Some pigments lean towards another colour and change the result. Make two small trials with different proportions and keep them on the reference sheet. You do not need complete pigment theory to observe what this particular pair can produce.
Check the palette and water are clean too. Green remaining in the brush can alter the next mixture. Repeating the trial in a clean well distinguishes the colours' behaviour from accidental contamination. That comparison gives clearer information than repeatedly adding paint to an increasingly large puddle. Clean the brush between trials rather than trying to compensate for each unwanted trace with another colour.
When buying another colour later, begin with an observed gap: a green you cannot mix or a shade needed in several subjects. Compare manufacturer information and actual swatches where possible. You will be extending a palette you understand instead of restarting the learning process with an entirely new box. Keep the old reference sheet so the new colour can be compared with what you already own.
Move from a mixture to a small subject
Choose a limited subject: three leaves, a cup or a few pebbles. Use just two selected colours and the white of the paper. For a lighter area, add water rather than immediately reaching for white paint. Wait for an area to dry if you want a separate shape beside it; working into a damp area will produce softer edges instead.
When a mixture turns dull, do not keep adding pigments in an attempt to correct it. Prepare a fresh little puddle in a clean well and compare the results. A muted colour may work for a shadow; it is not automatically a mistake. The purpose of this session is to recognise effects, not to finish a perfect illustration.
Rinse the brush, gently reshape its bristles and dry it according to its maker's recommendations, without leaving it soaking on its tip. Allow pans to dry before closing the box. Keep the swatch sheet with your materials: next time it will be more useful than another assortment of colours bought at random.